Most books are made in factories, and even boutique presses use machines alongside hand labor to create a small run of books:
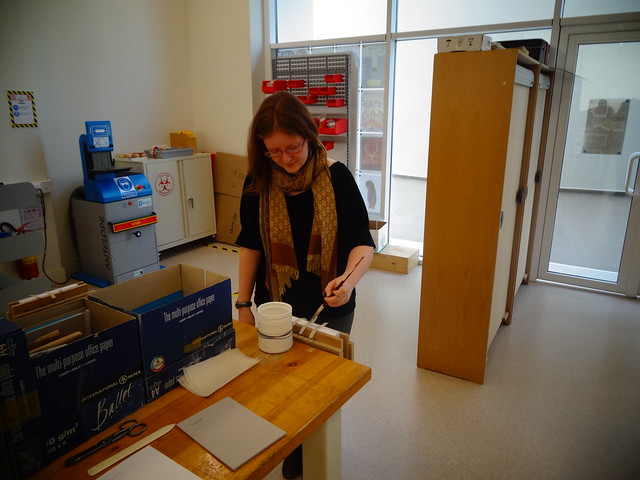
But you can also craft a high-quality book by hand. A few years ago, I got to watch British bookbinder Jonathan Smith, at his craft in southern Kazakhstan.
It can take several days to print, sew, glue, and bind a set of books, so I’ll just share photos of what I observed, supplementing with images from a handbook Jonathan’s written on the process. I am a novice at best, so just sharing my first impressions!
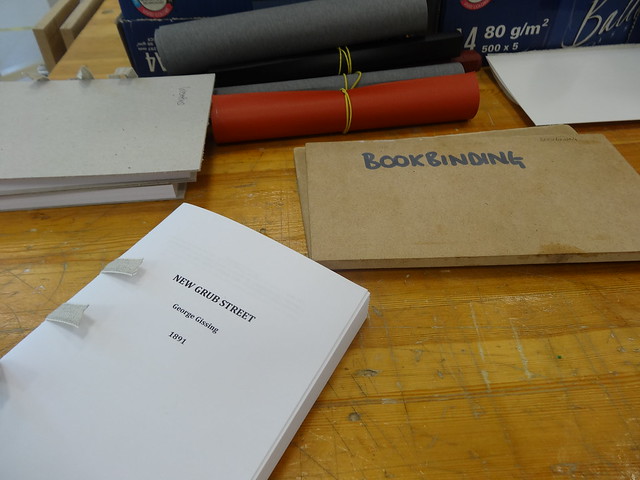
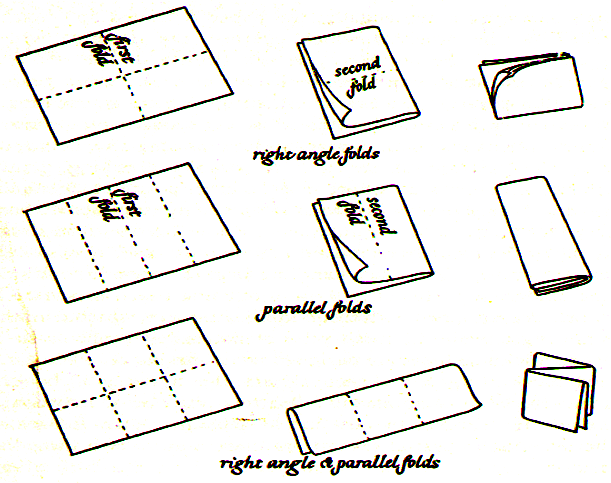
1) Print and fold the paper. Sturdy paper is printed on, then folded into sections of the book, called “signatures.”
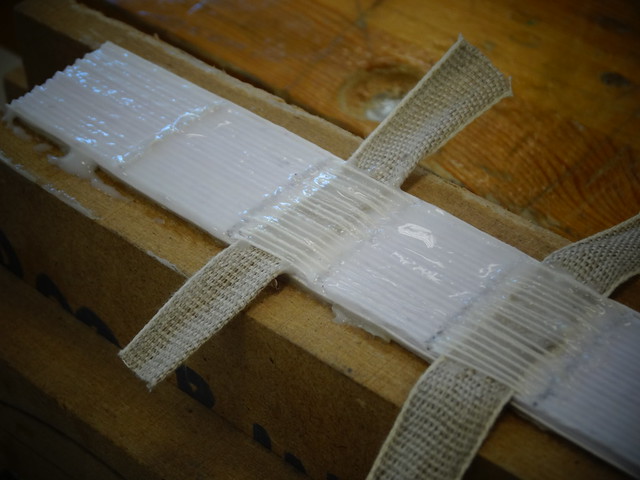
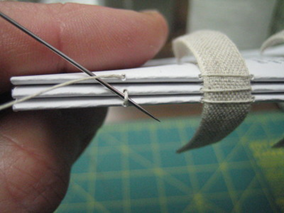
2) Sew the signatures together. To hand-sew, the signatures are pierced with an awl and hand-sewn into a “text block”–the full set of pages in a book. Strips of fabric can be added into the binding that will keep the book’s spine from later tearing apart:
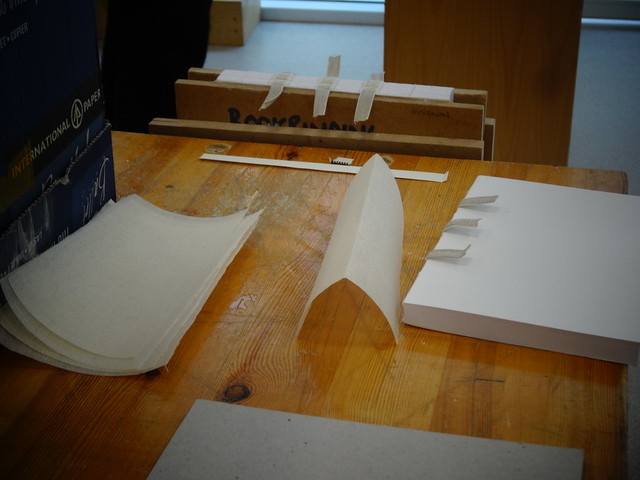
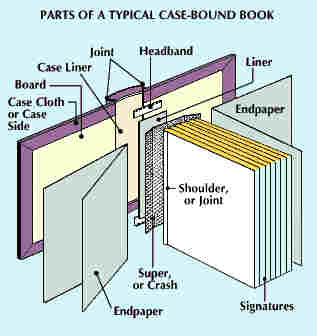
3) Glue on the endpapers. Strong sheets of paper are glued to the front and back of the book’s pages, and will later be glued to the cover to make the book stronger. This is what we’re heading for:
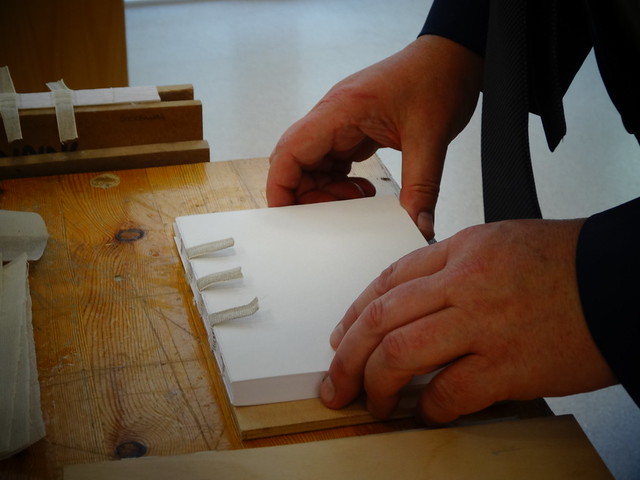
Here’s JS, lining up the book’s text block in preparation for gluing:
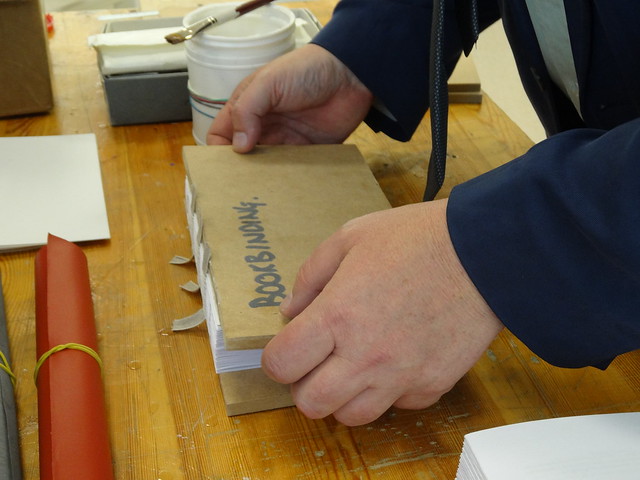
He uses wooden boards to press the book and hold in steady in vise:
Once the book is secured, he applies PVA glue to the spine and cords:
Should I be entrusted with this? Nope, definitely nope…
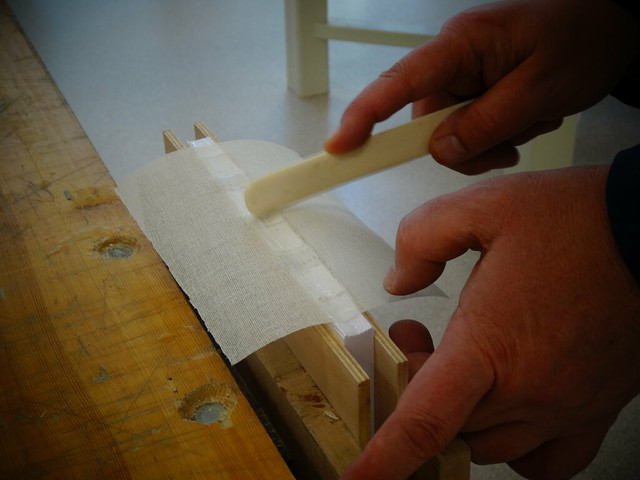
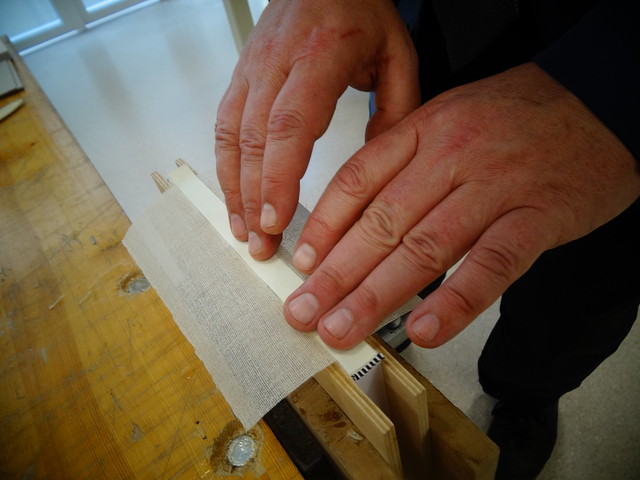
Next, a backing is added. This super, or piece of mull cloth, is cute two inches wider than the spine:
The super is glued to the end of the pages, strengthening the spine and preparing it to be attached to the cover. A bone folder can help you fold paper evenly, or smooth out bubbles when gluing:
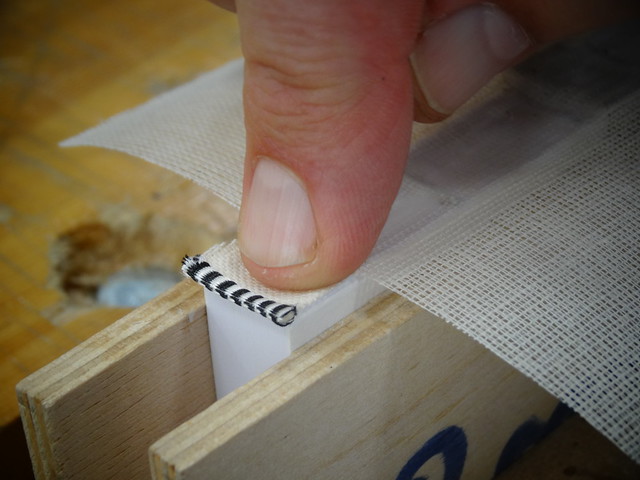
Headbands are little strips of linen that make your book look fancy, and are glued on at the top and bottom of the pages:
A sturdy paper “liner” is added next, cut to the side of the spine:
After all this gluing, the book needs to be dried for eight hours, which is why I don’t have much after this point.
A good book is made of high-quality paper, sewed firmly, and then has a strong cover and long-lasting glue that can protect it:
Book covers can be made of wood, leather, or even human skin (eww!) but typically you’d use sturdy card boards, and cloth, paper, or leather for the outside.
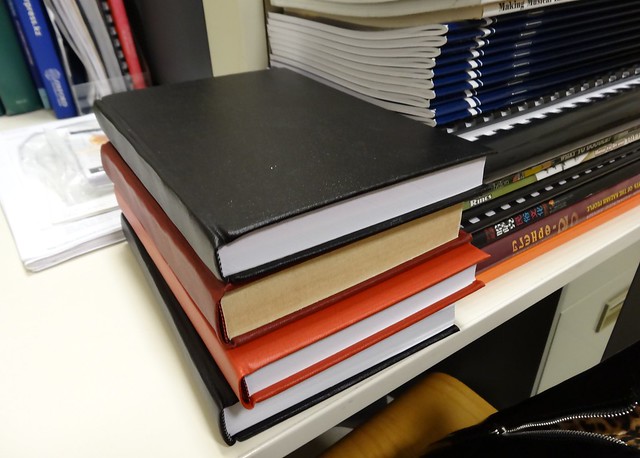
Briefly, to make the book cover, you’d lay the outside paper or cloth down, apply glue, and add the boards and card for the spine. The cover is folded over the boards and let to try, then the text block is added and glued in. Starch paste is used to glue the end papers to the cover, and the book is pressed in a vice overnight while it dries. At the end of this, you finish by adding paper labels or gold letter on the covers, and the book is ready to go! Here are the books closed:
And open. Everything you need for your own hand-bound books!
